Changing a tyre for dummies
Experts from Auto Repair For Dummies share a detailed guide on how to change a car tyre in ten simple steps.

When you’re on the road, the unexpected can happen. One moment you’re cruising with the wind in your hair, and the next, you find yourself on the side of the highway with a flat tyre.
Fortunately, changing a tyre is a skill every driver should master. According to Deanna Sclar, of Auto Repair For Dummies, following these simple steps can help you tackle a flat tyre with confidence.
Step 1: Prepare your vehicle.
Read more: The hazards of illicit tyres: protect yourself and the industry
Before you begin, make sure your car is parked on a stable, flat surface away from traffic. Turn on your hazard lights and engage the parking brake to prevent the vehicle from rolling.
Step 2: Gather your tools.
To change a tyre, you will need the following tools, typically found in your vehicle:
• A spare tyre,
• A jack,
• A lug wrench,
• Wheel wedges (if available), and
• A flashlight (in case of low-light conditions).
Step 3: Secure the vehicle.
If you have wheel wedges, place them against the tyres opposite the flat to prevent the car from rolling. This step is crucial to ensure your safety as you work.
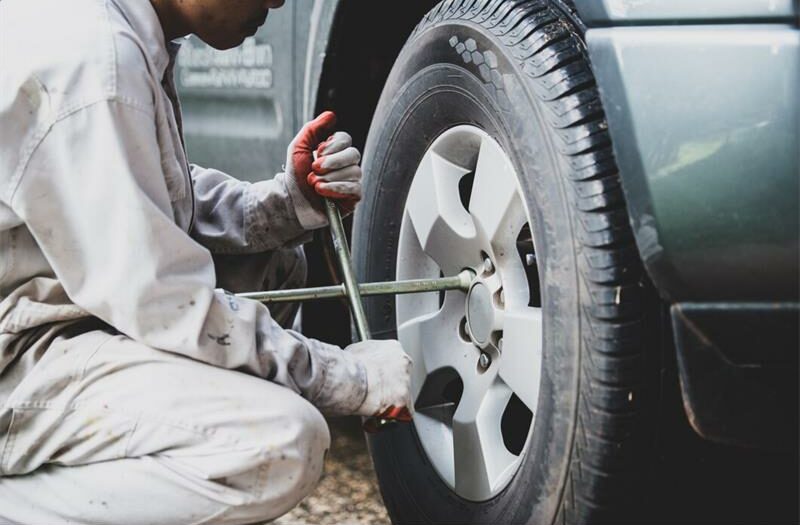
Step 4: Loosen the lug nuts.
Using the lug wrench, turn the lug nuts counterclockwise to loosen them before raising the vehicle. It’s best to use a strong grip and put your weight into it. Loosen all the nuts but do not remove them completely at this stage.
Step 5: Jack up the car.
Also read: Fitting the wrong tyres can cost you
Place the jack under the vehicle’s designated jacking point (refer to your owner’s manual for specifics). Activate the jack to lift the car until the flat tyre is about six-inches off the ground. Always ensure that the jack is securely positioned.
Step 6: Remove the flat tyre.
Now that the car is elevated, finish removing the loosened lug nuts completely. Carefully take off the flat tyre and set it aside.
Step 7: Mount the spare tyre.
Align the spare tyre with the wheel bolts and securely place it onto the hub. Hand-tighten the lug nuts onto the bolts by turning them clockwise.

Step 8: Lower the vehicle.
Carefully lower the vehicle back to the ground using the jack. Once the tyre is resting on the ground, you can remove the jack.
Step 9: Tighten the lug nuts.
With the vehicle firmly on the ground, use the lug wrench to tighten the lug nuts in a star pattern. This ensures even tightening and secures the tyre.
Step 10: Clean up.
Put the flat tyre and all tools back in your vehicle. Ensure your damaged tyre is stored safely until you can have it repaired or disposed of properly.
Follow us on our Facebook, X, Instagram, and TikTok pages. Join our WhatsApp group for any story ideas you may have.
Related article: Tyres are a complex and silent revolution