DIY: Make your own Christmas Gnome at home
Michelle Van Wyk from I-Scrap Joburg Scrapbook and Craft shop explained how to make your own gnome.
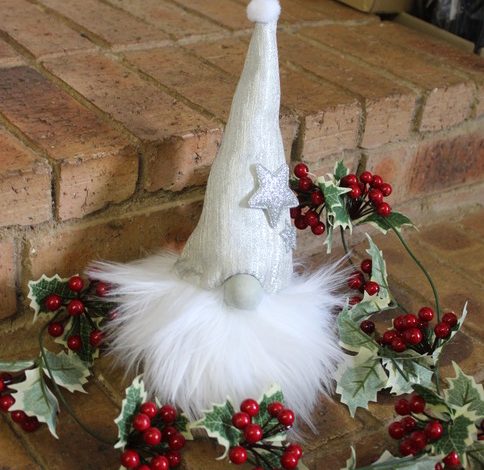
Do you want to make your table look extra special this Christmas? Why not make your own Christmas Gnome at home?
Michelle van Wyk from I-Scrap Joburg Scrapbook and Craft shop explained how to make your own gnome.
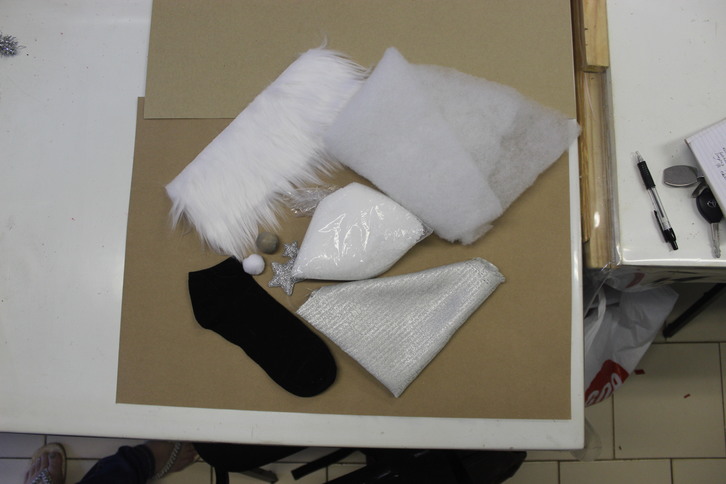
You will need is an ankle sock, two cups of plastic beads – you can use rice, a piece of fluff about 30cm by 10cm, a wooden bead for the nose, a piece of material about 30cm by 30cm, a hot glue gun, batting, a crafting knife and some decorations.
1. First fill the ankle sock with two cups of the plastic beads or rice. Tie it off with a piece of string so that it forms a tight ball.
2. Next cut the fluff into a ‘V’ shape. Make sure the ‘V’ points down in the direction the fluff is hanging. Use a craft knife to peel the fluff away from the material. Do not use scissors or you will cut off all the fluff.
3. Next glue the fluff halfway around the ball and make sure the fluff hangs down.
4. Next cut a hat template from the piece of material. The template can be found online.
5. Next glue the long straight corners together so that the material forms a cone. Once it is dry turn it inside out and it forms a nice seam. This is easier and quicker than sewing the hat.
6. Now stuff the batting inside the hat so it is nice and fluffy.
7. Next attach the wooden bead for the nose. Make sure the bead is half on and half off of the beard fluff, and not too high up.
8. Next glue the hat to the sock and the beard with a hot glue gun. Make sure to start at the nose and slowly work around.
9. Lastly decorate the gnome’s hat the way you like it.
10. The last step – the cherry on top – is to attach the pompom to the gnome’s hat and there you have it, a beautiful gnome table decoration.