#Guide: Grow your own marula tree from seed
For years the tree's fruit has been used to produce a creamy, delicious liqueur.
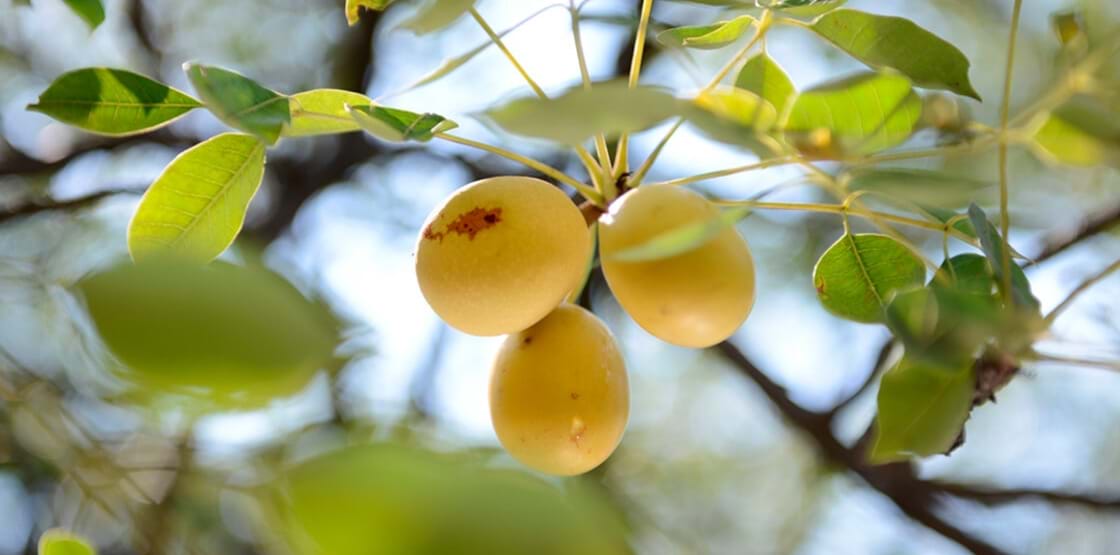
The story that Marula trees, scientifically referred to as Sclerocarya birrea, can get elephants drunker than skunks may sadly be an age-old superstition but that does not take away from the tree and it’s beauty.
ALSO READ: How to start a basic organic food garden
The story of elephants eating marula fruit, and getting absolutely hammered, was first heard in the early 1800s however, this theory has sadly since been put to rest – sorry if you were hoping to catch an elephant in a drunken daze.
For years the tree’s fruit has been used to produce a creamy, delicious liqueur.
The fruit produced by this tree has a distinct sweet and sour taste when ripe and when turned into juice, contains four times as much vitamin C as compared to orange juice.
The oil produced by the fruit has also been found to have multiple benefits for skin use.
So, then why would you not want to grow your own marula tree? But before you get started, you’ll either need to get your hands on some actual marula fruit or order/buy some seed.
Here are some of the things you’ll need:
* Marula tree seed. (Both male and female if you would want a fruit bearing tree)
* A hardy pair of cutters/scissors – they need to have strong blades which will not break!
* Oblong containers.
* River sand and Canadian peat moss.
* Water.
* Steady hands!!!
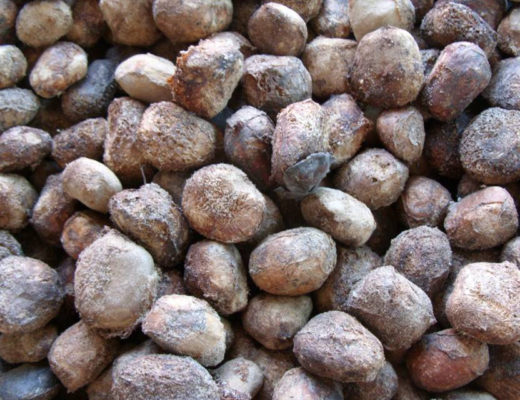
Now, first of all, take a look at the below image of what the seed (stone) looks like when removed from the fruit and dried.
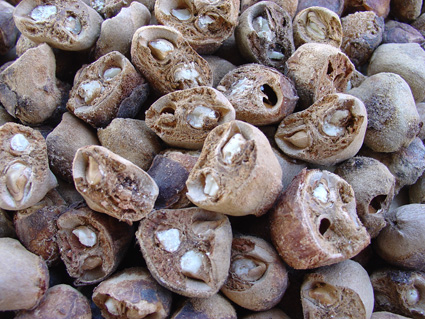
And now, this is what they look like when they have been opened – the exterior is referred to as stone, while the inner is referred to as a kernel.
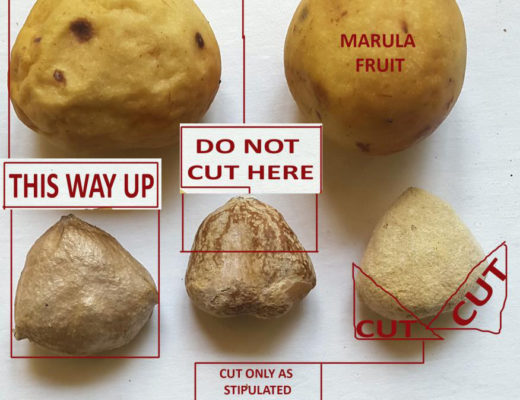
If you can safely cut them open without damaging the part that grows, cut them as above, if not, do as shown below:
Once the inner ‘seed’ has been exposed, ensure that your planting mix has been prepared as follows:
In an oblong container, with decent drainage, layer first with Canadian peat moss, about 1cm in depth an then the rest of the space may be filled with river sand.
Soak the mixture thoroughly so that it is heavily wet and using your thumb, push holes into the mixture and place your seed with the exposed holes facing downward into the ground and the top half of the seed sticking out of the ground.
ALSO READ: #BonsaiNews: How to turn a tree into a work of art
Once all of this has been done, move the container to a very sunny and warm area where the seeds will show signs of growing within two weeks.
Ensure that the mixture of Canadian peat moss and river sand remains wet throughout by watering daily.
Within two to three weeks, your seed will have shown similar results as the author’s currently does below.

Important advice: Do not attempt to remove the casing around the seedling while it grows – it will do this on it’s own.
Once it has attained the correct size and height, replant the seedling into the same mixture if you like, or into a mixture of sandy soil and manure.
Ensure that the tree is placed in an area where it gets full sun – the tree does not do well in cold temperatures.
VITAL TIPS:
* Water carefully as the seed may be dislodged from the river sand if watered recklessly.
* Attempt to keep the seed (while growing) away from animals such as monkeys and hadedas, as they may attempt to eat them.
* Replant the seedling once it has grown two sets of leaves as leaving it to grow larger will result in transplanting becoming difficult as roots may be damaged.
* Only female marula trees bear fruit, so if you want them to produce fruit, get a male tree as well. (NOT KIDDING)
HAVE YOUR SAY
Like our Facebook page, follow us on Twitter and Instagram
For news straight to your phone, add us on BBM 58F3D7A7 or WhatsApp 082 421 6033