Learn how to do decoupage
Decoupage involves cutting out pictures, gluing them to an object and then coating the pictures and the object with layers of varnish.
The finished item can look so beautiful that it appears to be professionally painted.
The decoupage technique can be used to personalise almost any item in your home, and the great thing is that the designs can be as simple or as complex as you like.
You can buy a large selection of supplies specifically for decoupage, but the nice thing about this craft is that you probably have many of the supplies lying around at home to be able to start simple projects right now. All you will need to start with are a few basic materials and tools.
Items to decorate
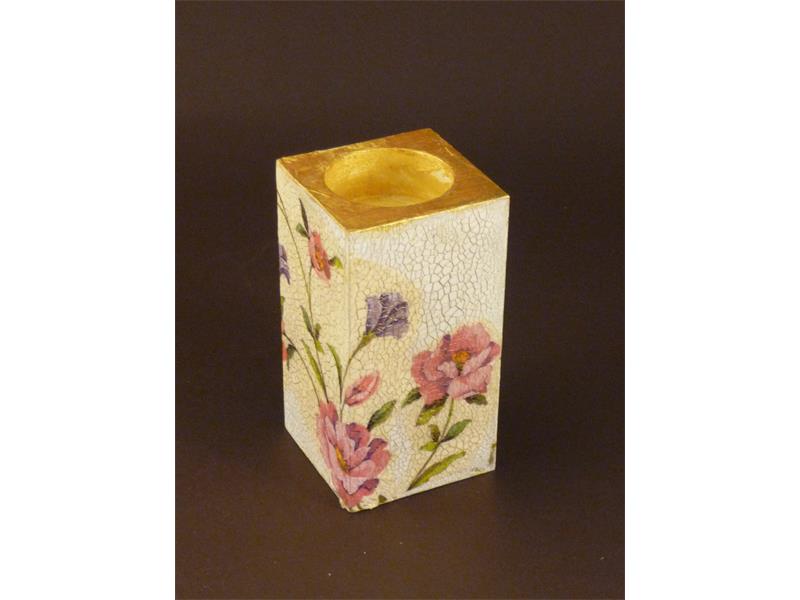
Pictures can be decoupaged to almost anything. Popular items include boxes, vases, pots, plates, trays, bowls, lampshades, furniture, frames and mirrors.
These could be items you already own but want to personalise, or items specifically bought for decoupage, such as plain simple wooden boxes and frames.
Pictures to use
There are many picture sources available for this craft:
n Wrapping paper has the ideal thickness and is widely used as it is available in a multitude of both traditional and up-to-date designs.
n Wallpaper.
n Magazines or catalogues.
n Decoupage papers are pictures selected specifically for this craft, and are widely available in many designs.
n Fabric.
Tip: If you are new to decoupage, choose pictures that have a clear outline, as this will make them easier to cut out than those with blurred edges. If you’re worried about using original pictures you can colour copy or scan them instead.
These are the best types of glue to use for decoupage:
n Decoupage glue. This is specifically designed for this craft and available from craft shops. It is perfect as it can be used as both glue and varnish.
n PVA glue. This is all-round glue that dries clear and sticks paper, card, fabric, wood and metal.
n Varnish. The best varnish to use is gloss as no matter how many coats you use it doesn’t go cloudy.
Tip: If you require a matt finish, use gloss for every coat and then use matt varnish for the final coat only.
Basic tools
n Scissors. Cutting out is large part of decoupage so a really sharp pair of small scissors is important to ensure you cut clean edges.
n Craft knife. This is used to cut out detail and intricate areas.
n Soft sponge or cloth to wipe away excess glue.
n Sandpaper for sanding the layers of varnish if required.
Tip: Use a really sharp blade with your craft knife as blunt ones can tear the paper. Use cotton wool buds to dab away small amounts of excess glue.
All the above-mentioned materials and tools should be available in your local art and craft shops.
Five easy steps to follow
These are the key steps to follow to make your first decoupage item:
n Prepare surface. Once you have selected your item to decorate, make sure the surface of it is clean and dust free as the varnish magnifies any imperfections.
n Cut out pictures. Select your pictures and cut them out. It may be easier to cut out the pictures roughly with scissors first and then cut them out more precisely with a craft knife. If a white edge shows around the picture you have cut out, colour the edge with a crayon or pen that matches either the picture or the background on which it is to be used.
n Arrange the pictures. Before you glue the pictures in place, ensure you are happy with the positioning.
n Glue the pictures in place. Smooth out any wrinkles and wipe away any excess glue with a barely damp sponge.
n Varnish. Ensure the glue is dry before starting to varnish and leave the varnish to dry thoroughly between each coat. Anything from four to 15 coats may be needed depending on how thick the decoupage paper is and how smooth and durable a finish is required. To achieve a finely lacquered finish you will need to sand lightly after a few layers of varnish and wipe away all dust. Keep repeating this process until you are happy with the finish.
Tip: A few thin coats of varnish will give a better finished result than a few thick ones.