

DIY wooden bird house
Check out our special Home and Garden supplement in this week's paper.
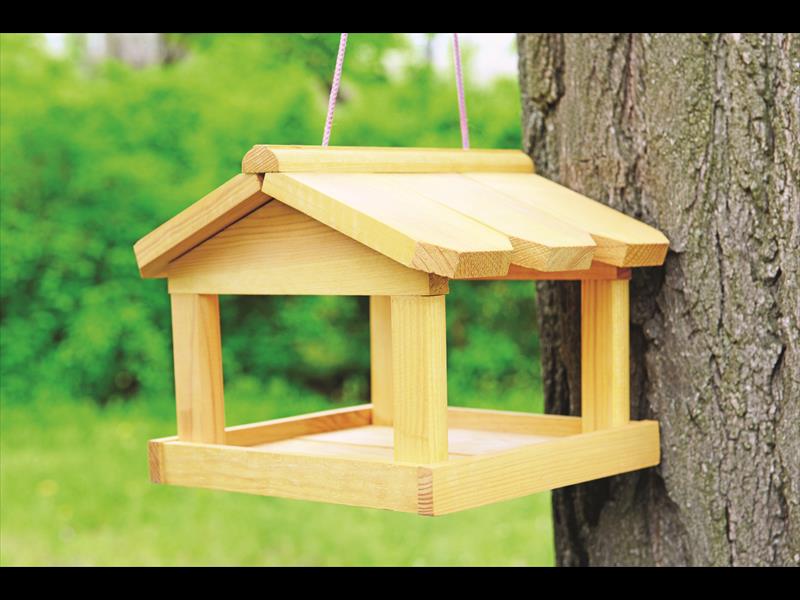
A garden full of birds twittering and tweeting is a happy place.
A bird house is just the right thing to attract them to your garden.
MICA’s DIY project for the month will teach you how to make a lovely wooden birdhouse in just a few easy steps.
What you need:
– 22 x 222 SA Pine (300mm long)
– Waterproof glue
– 2 x brass screws
– 44 x 9mm cover strips
– 2 x uprights (350mm long)
– Bird Food/ seed
– String
– Paint/ varnish
This is what you do:
1. Take a 22 x 222 piece of SA pine about 300mm long and, attach 44 x 9mm cover strips along each edge using waterproof glue and two brass screws.
2. Cut one end of the two 350mm uprights each into a 45/90/45 degree arrowhead shape.
3. Using waterproof glue and two screws attach each upright to the base. Using screws each side to secure.
4. Measure and cut to size two roof sections. Trim the roof section to the thickness of the wood so that the roof is even. (If one side of the roof is 350mm long by 350mm wide and the wood used is 12mm thick, for example, then if the long side overlaps at the peak, the other half of the roof must be 338mm wide). You can adapt these dimensions as you see fit, however there should be sufficient overhang to keep the seed dry.
5. Cut the 32 x 32 peak bar to fit tightly between the uprights and using glue and three brass screws per half to secure the join, attach the roof halves.
6. Using glue and screws to secure it, attach the roof assembly to the uprights.
7. Apply a varnish of your choice.
8. Drill a hole through the centre top of the roof and attach a stout cord.
9. Hang the feeder in a convenient place in your garden, out of harms way from other animals and children.
Let the bird watching begin.
Stay in the loop with The North Coast Courier on Facebook, X, Instagram & YouTube for the latest news.
Mobile users can join our WhatsApp Broadcast Service here, or if you’re on desktop, scan the QR code below.